
Week 4
Hey, It Looks Like a Robot!
To love what you do and feel that it matters, how could anything be more fun?"
Katharine Graham
By the end of week four, your robot should look like a robot, even though it is not yet finished. Major assemblies such as chassis and drive system should be nearly done, and the electrical and pneumatic systems should be installed. Preliminary versions of the selected robot functions should be able to be tested on the robot, and the control system should allow the robot to operate the drive system and key components. Your competition team should be selected, team shirts should have been ordered, and your team should be very excited about their progress.
Don’t give up now. You have only two weeks left. Keep rocking!
TEAM ORGANIZATION
HANDLING BURNOUT
Continue to celebrate your success. Having your robot look somewhat like you envisioned this should help. Be aware of students and adult mentors who are stressed. Being involved in four weeks of robot build puts strains on home life and schoolwork.
Ensure that people have some time off when they need it. Although this is about building a robot, it is more about building people and relationships.
LEADERSHIP MEETINGS
Continue to schedule times for a sub-set of team leaders (adults and students) to gather to discuss how the season is progressing, what tasks need to be done, and what resources are needed to accomplish those tasks. Meeting in a small subgroup allows some retrospection and an environment where the key leaders can see the big picture.
WORK PLANNING
Depending upon your progress and the size of your team, you may need to schedule specific times when a certain sub-team (i.e., electrical) needs time on the chassis to wire up the electrical board, or when mechanical needs to install a functional component. By planning for some “shiftwork”, your team may be more efficient these last few weeks and avoid the “I never get time on the robot” syndrome.
WEB PAGE CREATION
Understand what the main purpose of your team web page will be, if you choose to have one. Some uses are communication (between your team members or between your team and other teams), information to parents and sponsors, or maintaining a chronicle of your team's history. This will prove to be valuable for Rookie All-Star and Chairman's Award entries in future years.
ROBOT DESIGN / BUILD
FUNCTION INTEGRATION WITH CHASSIS
The key to attaching other robot functions can be boiled down to five steps:
-
Make sure it is absolutely needed to give your robot an advantage.
-
Only add two or three functions (Build a few good functional components versus many mediocre functional components).
-
Prototype components to ensure operational success.
-
Communicate often with other sub-teams to make sure the space you need will be available.
-
Make the components light and as simple as possible.
PLAN TO REDESIGN
As we start testing parts and putting the various components together, we always find that we have to redesign something. There is no way around it, so the best plan is to try and test as early and as often as possible, so you have plenty of time to fix the problems as they crop up. Do not leave all of your testing until weeks 5 and 6, as it makes for extremely long nights and weekends.
WEIGHT MANAGEMENT
Keep a scale in the robot build area so that you can constantly weigh the robot and all components / parts that will go on the robot. Up to this year, the closest we got to the maximum weight after the first weigh-in was 5 pounds over!
Tip -> An often overlooked way to keep unnecessary weight off the robot is to design your electrical system to limit the distance you have to run heavy gauge wire. Try putting your battery as close as possible to the breaker and fuse panel.
BUILDING A CART
The cart seems like a simple thing that can be left to the last minute but a well designed cart is worth its weight in gold. It is not only absolutely critical to have a cart to move the robot from pit to field, but we also use it as a stand to hold our robot during repairs. Here are some things that we think about when designing a cart. First we design it so that the robot is supported in a way that allows the wheels and other functions, such as arms, to be fully tested on the cart. We keep the overall height low enough so that the robot and cart can go through a standard doorway.
Try to use the largest wheels possible, as they will make it easier to climb over the uneven surfaces that you will find at the competitions.
Two of the wheels should be casters, the other two fixed. This provides the optimum in maneuverability. If possible, wheels with locks may be options to consider. Also, you should have a shelf on the cart for all the tools you will need to fix those last minute repairs we always have to do while waiting on line for a match. A cup holder is not a bad idea, also. :-)
ROBOT COMPUTER PROGRAMMING
AUTONOMOUS
Your autonomous programmers can continue writing code for whatever routine(s) you wish to run. A simple autonomous routine would be to drive the robot forward for a given length of time. Since the program loop executes every 26.2 msec, computer code, which tells the wheel motors to run for 38 loops will cause the robot to move for approximately one second.
Start simple and make sure those routines work before getting more complicated. If you plan to use sensors, you may want to set up some initial tests either with a separate test board or with a First Tech Challenge robot.
Until the robot controller is needed for your full-size robot, it could be used on a separate test board with the edu robot motors and any sensors you want to test. The 5 V battery can be used to supply the necessary power. Alternatively, sensors could be mounted and tested on the edu robot itself.
RC (REMOTE CONTROL)
The programmers for the RC mode should be familiar with the default code and should begin planning how they want to modify this code. By mapping out the inputs (joystick(s) and buttons) with planned outputs (motors, relays, etc.), you can see how to separate your code into different functions which can be written and tested separately if desired. For instance, you may want one function for driving the robot, another function for moving an arm, etc. It is always good to begin programming as soon as you have enough information to do so, because debugging computer programs often takes longer than expected.
COMPETITION TEAM
COMPETITION TEAM AVAILABILITY
We covered competition team selection last week. It is important, now that time is fleeting, to schedule training time with competition team members (or hopefuls). Talk with each member and determine when he / she is available between now and robot ship. When the robot is on the floor and ready to drive, make sure one of the competition team members is available to drive. Simply testing functionality allows drivers to get their hands on the joysticks.
COMPETITION PREPARATION
TEAM UNIFORMS / SHIRTS
One of the best ways to bring your team together at a competition is have them look like a team. With the regional competitions about one month away, now is the time to determine what your team “look” will be. One of the simplest ways to create a look is by having team shirts.
Not only do they enhance the team look, shirts also create an identity for your team. If your shirts / uniforms are distinctive, it may stick in the minds of the teams who are selecting alliance members for the elimination rounds. (If you are not one of the teams picking yourself!).
Steps involved include:
-
Select a color that your team plans to use (typically, these are school colors, but your team might agree on some other colors).
-
Choose a name for your team that you want printed on your shirt. You should also plan on including your team number printed large enough for other teams to recognize you.
-
If your budget allows, you may want to put team member names on the back of your shirts. If the budget does not allow, duct tape can be torn / cut to create makeshift names.
-
A team shirt is a great opportunity to acknowledge sponsors. If you have room, you may want to include your sponsor's logo, if they have one.
-
Take your shirt design and all the information to a local sporting goods store or graphic arts specialist. Ask if the merchant would like to sponsor your team, also. You can get good deals on shirts with sponsorship.
TEAM GIVEAWAYS
Giveaways are limited at competitions, but are a real important part of FIRST team bonding. The simplest and least expensive type of giveaways are buttons.
Buttons offer a wealth of creative options for graphics phrases. They can include photos of your robot, team, or text including team phrases, robot name, team name, etc. Buttons can also be personalized for team members.
Button-making also offers a key team activity for students whose robot-building tasks are complete or who simply want to take a break.
If interested in buttons, badges, and more, there are many vendors to obtain materials. One we have used is www.buttonsonline.com.
Our team orders Dr. Don’s buttons. There are many other places on the web to purchase button machines and materials. Enjoy and have fun.
SHIPPING THE ROBOT
Although it is a few weeks away, it is important to begin to think about shipping your robot now. The robot must be out of your hands by the proper time on Tuesday, February 22nd. Your must ship the robot; you are not permitted to transport it yourself to your regional competition.
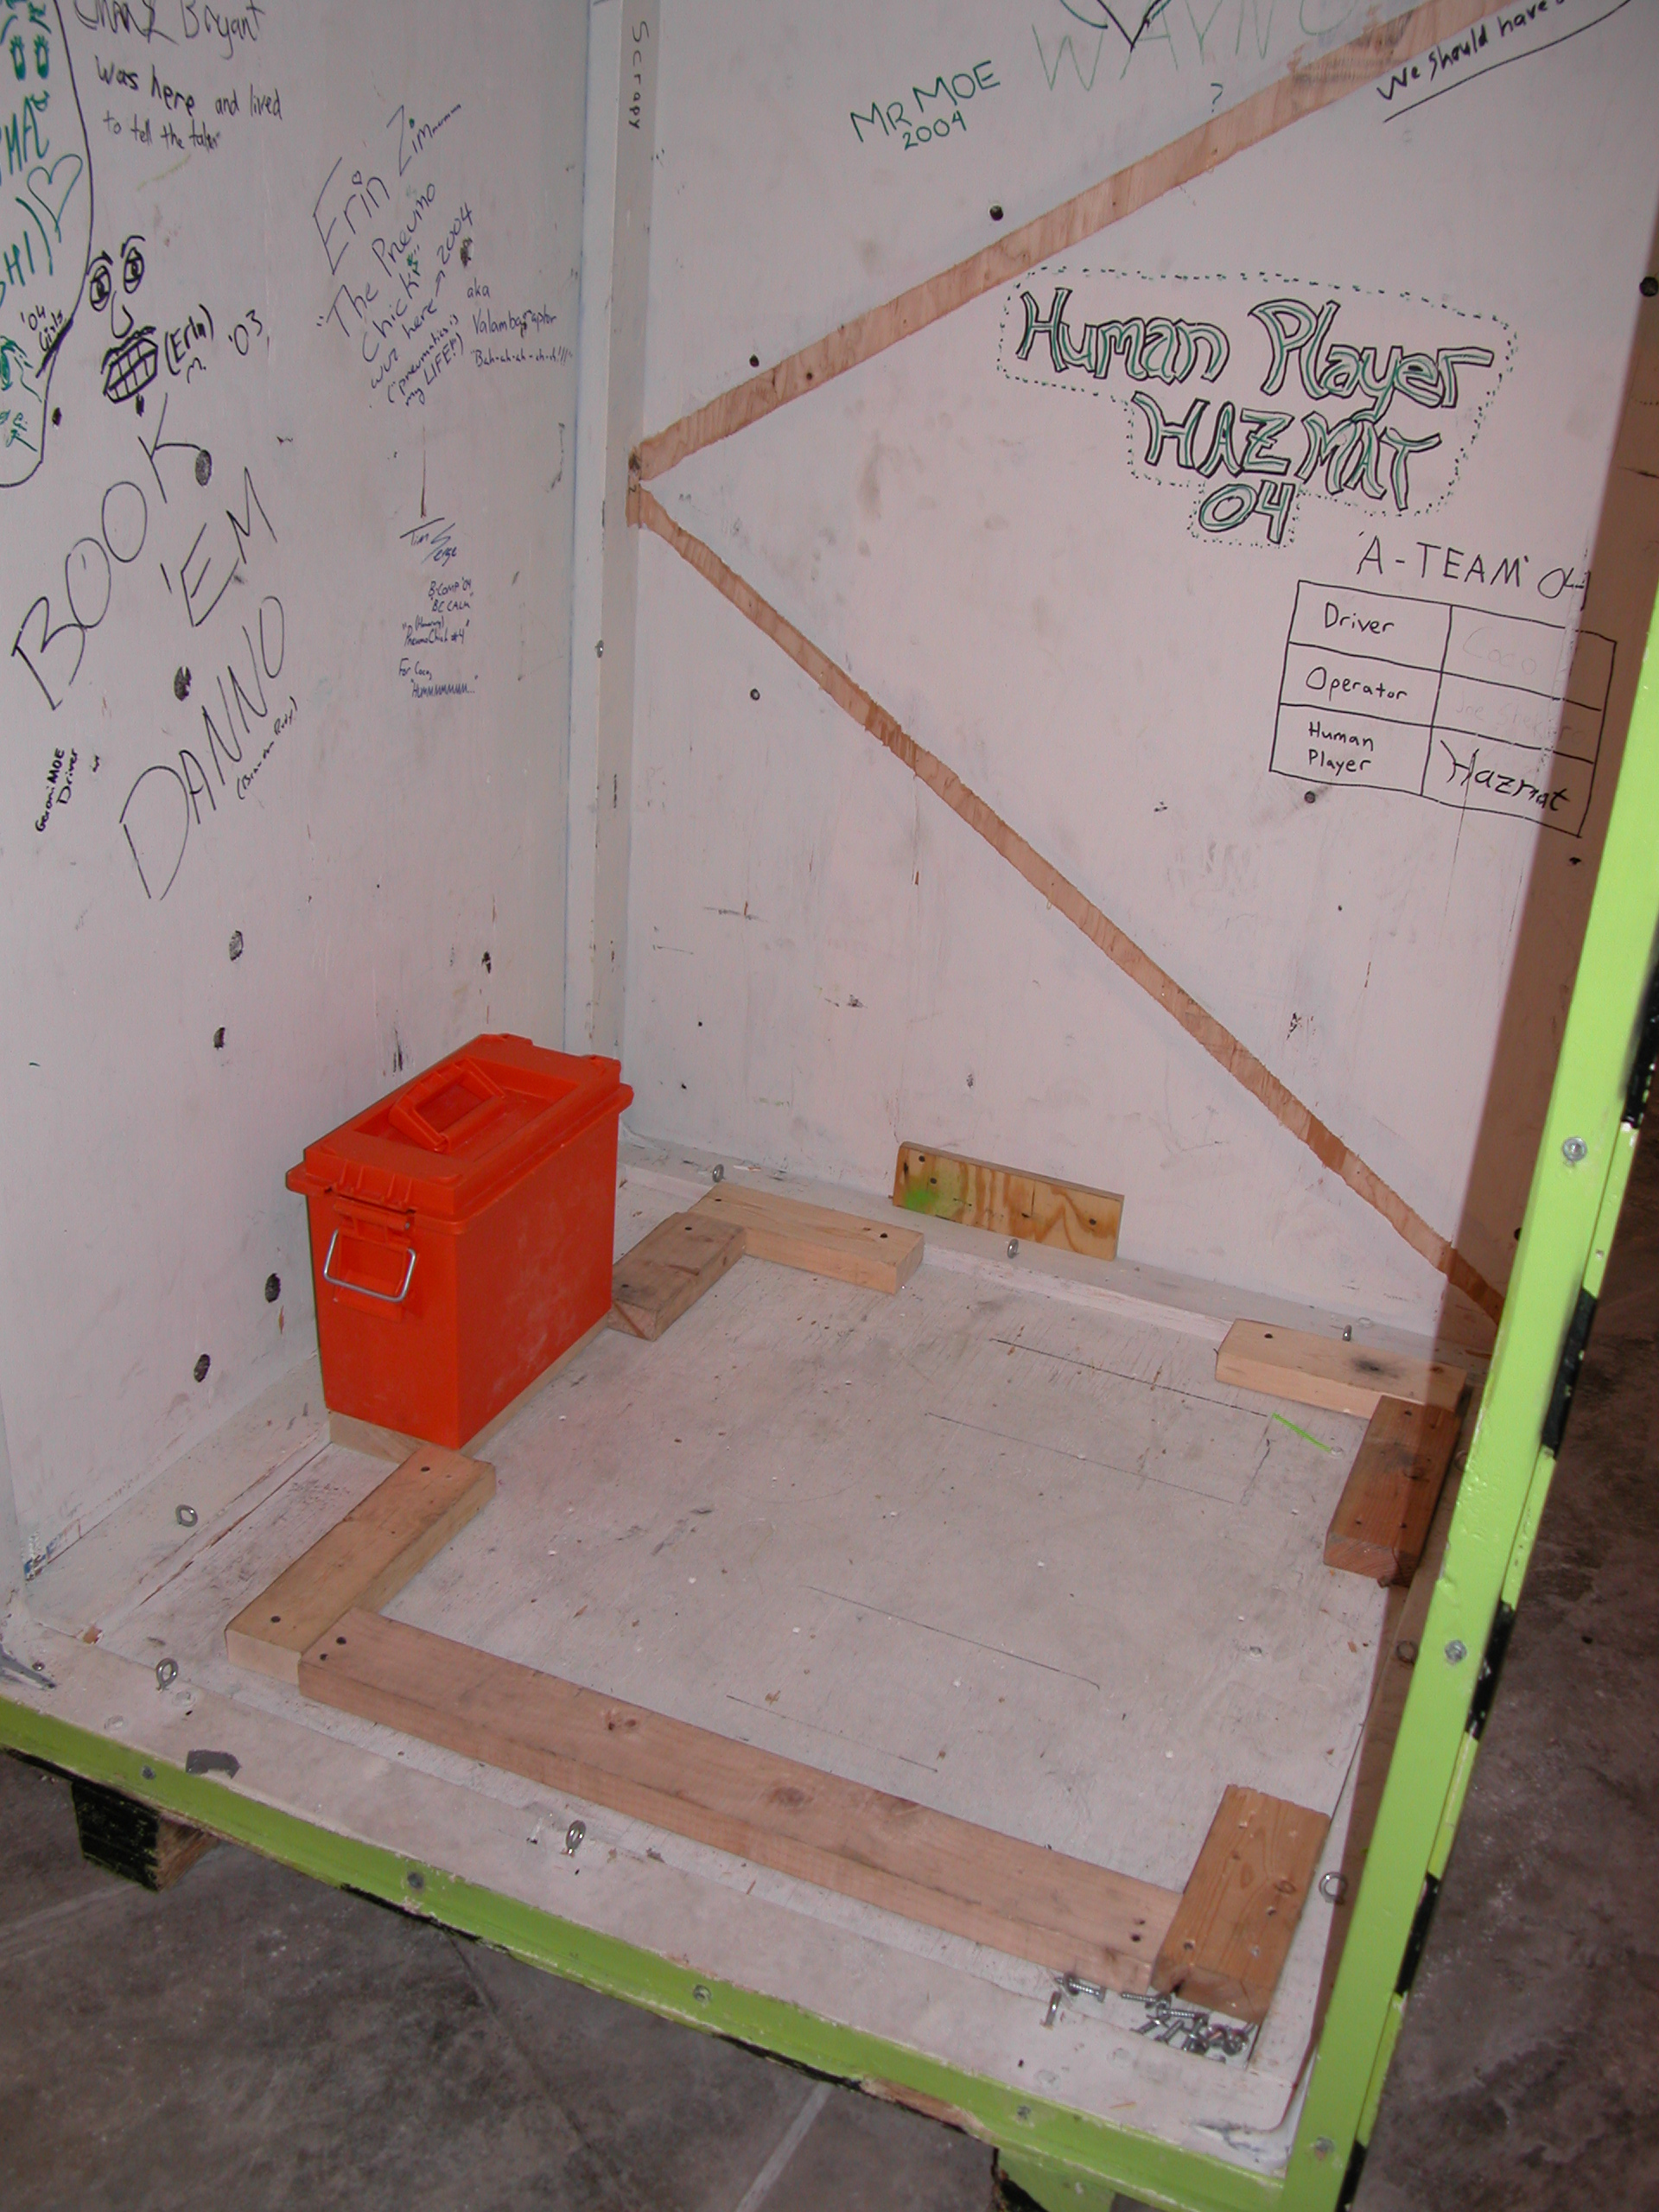
BUILDING YOUR CRATE FOR SHIPPING
It's time to plan your shipping crate. Build it to the max dimensions specified in the competition manual. Even if this year's robot does not need all that space, next year's robot might. Try to keep the total weight (crate, robot, two batteries, packing, etc.) at or below 400 lbs to save money on drayage. Our crate is 1/2" plywood over a frame of 2x4's. The total weight (including MOE Green paint and accessories) is right at 400 lbs.

CHOOSE A SHIPPING COORDINATOR
Choose a robot shipping coordinator who will arrange shipment before each competition and on Saturday at the competition. This is preferably an adult with a credit card (for any payments) and a fast car (to escape the angry hordes if the robot does not arrive at the competition). He or she should assemble a file or 3-ring notebook to include:
Shipping labels and "Nonspillable Battery" labels in the format required by FIRST as posted on the competition websites.
A list of key names and phone numbers, like the shipper and drayage company.
A cover page with your team number, mentor names, and cell phone numbers so the notebook will get back to the team if it’s misplaced.
The Robot Transportation section of the competition manual. The shipping coordinator should read this thoroughly.
STAYING CONNECTED
FIRST SENIOR MENTOR
You have probably been contacted by your FIRST Senior Mentor. Utilize him / her as you need to get the help your team may need.
TEASER PHOTOS ON CHIEF DELPHI
Another way to keep your student team members engaged is to view the teaser photos, which are being posted on the Chief Delphi Forums site (www.chiefdelphi.com). These teasers are fun and also give you a glimpse into the minds of other FIRST teams.